Whenever I decide to start exploring a new cloud platform I have a testing pattern that I follow. It looks somewhat like this:
1. Move all or most of my personal sites and services over to the new platform, spreading across as many platform services as possible.
This makes me aware of platform service capabilities, configuration, scale, and gives me the closest real life experience with different services beyond doing labs
2. After I have moved as much of my own personal ‘stuff’ as possible over, I usually spend a few weeks or months analyzing performance on the architecture and configurations I have created.
This allows me to improve my architecture, understand how the service bills and how I can optimize my spend, test and improve performance, identify any software or code changes to accommodate the platform, and experience platform services knobs and switches
3. Daily platform blog update reading, weekly podcasts
4. Be active or involved on platform communities
5. Take any available on demand training courses
6. Work towards certification paths or other personal set challenges
There is a more exhaustive routine that I have but for sake of this posts brevity ill keep it to these 6. This level of personal testing lets me acclimate myself with my own use cases then I have a good foundation to easily understand and being building more complex architecture on the platform.
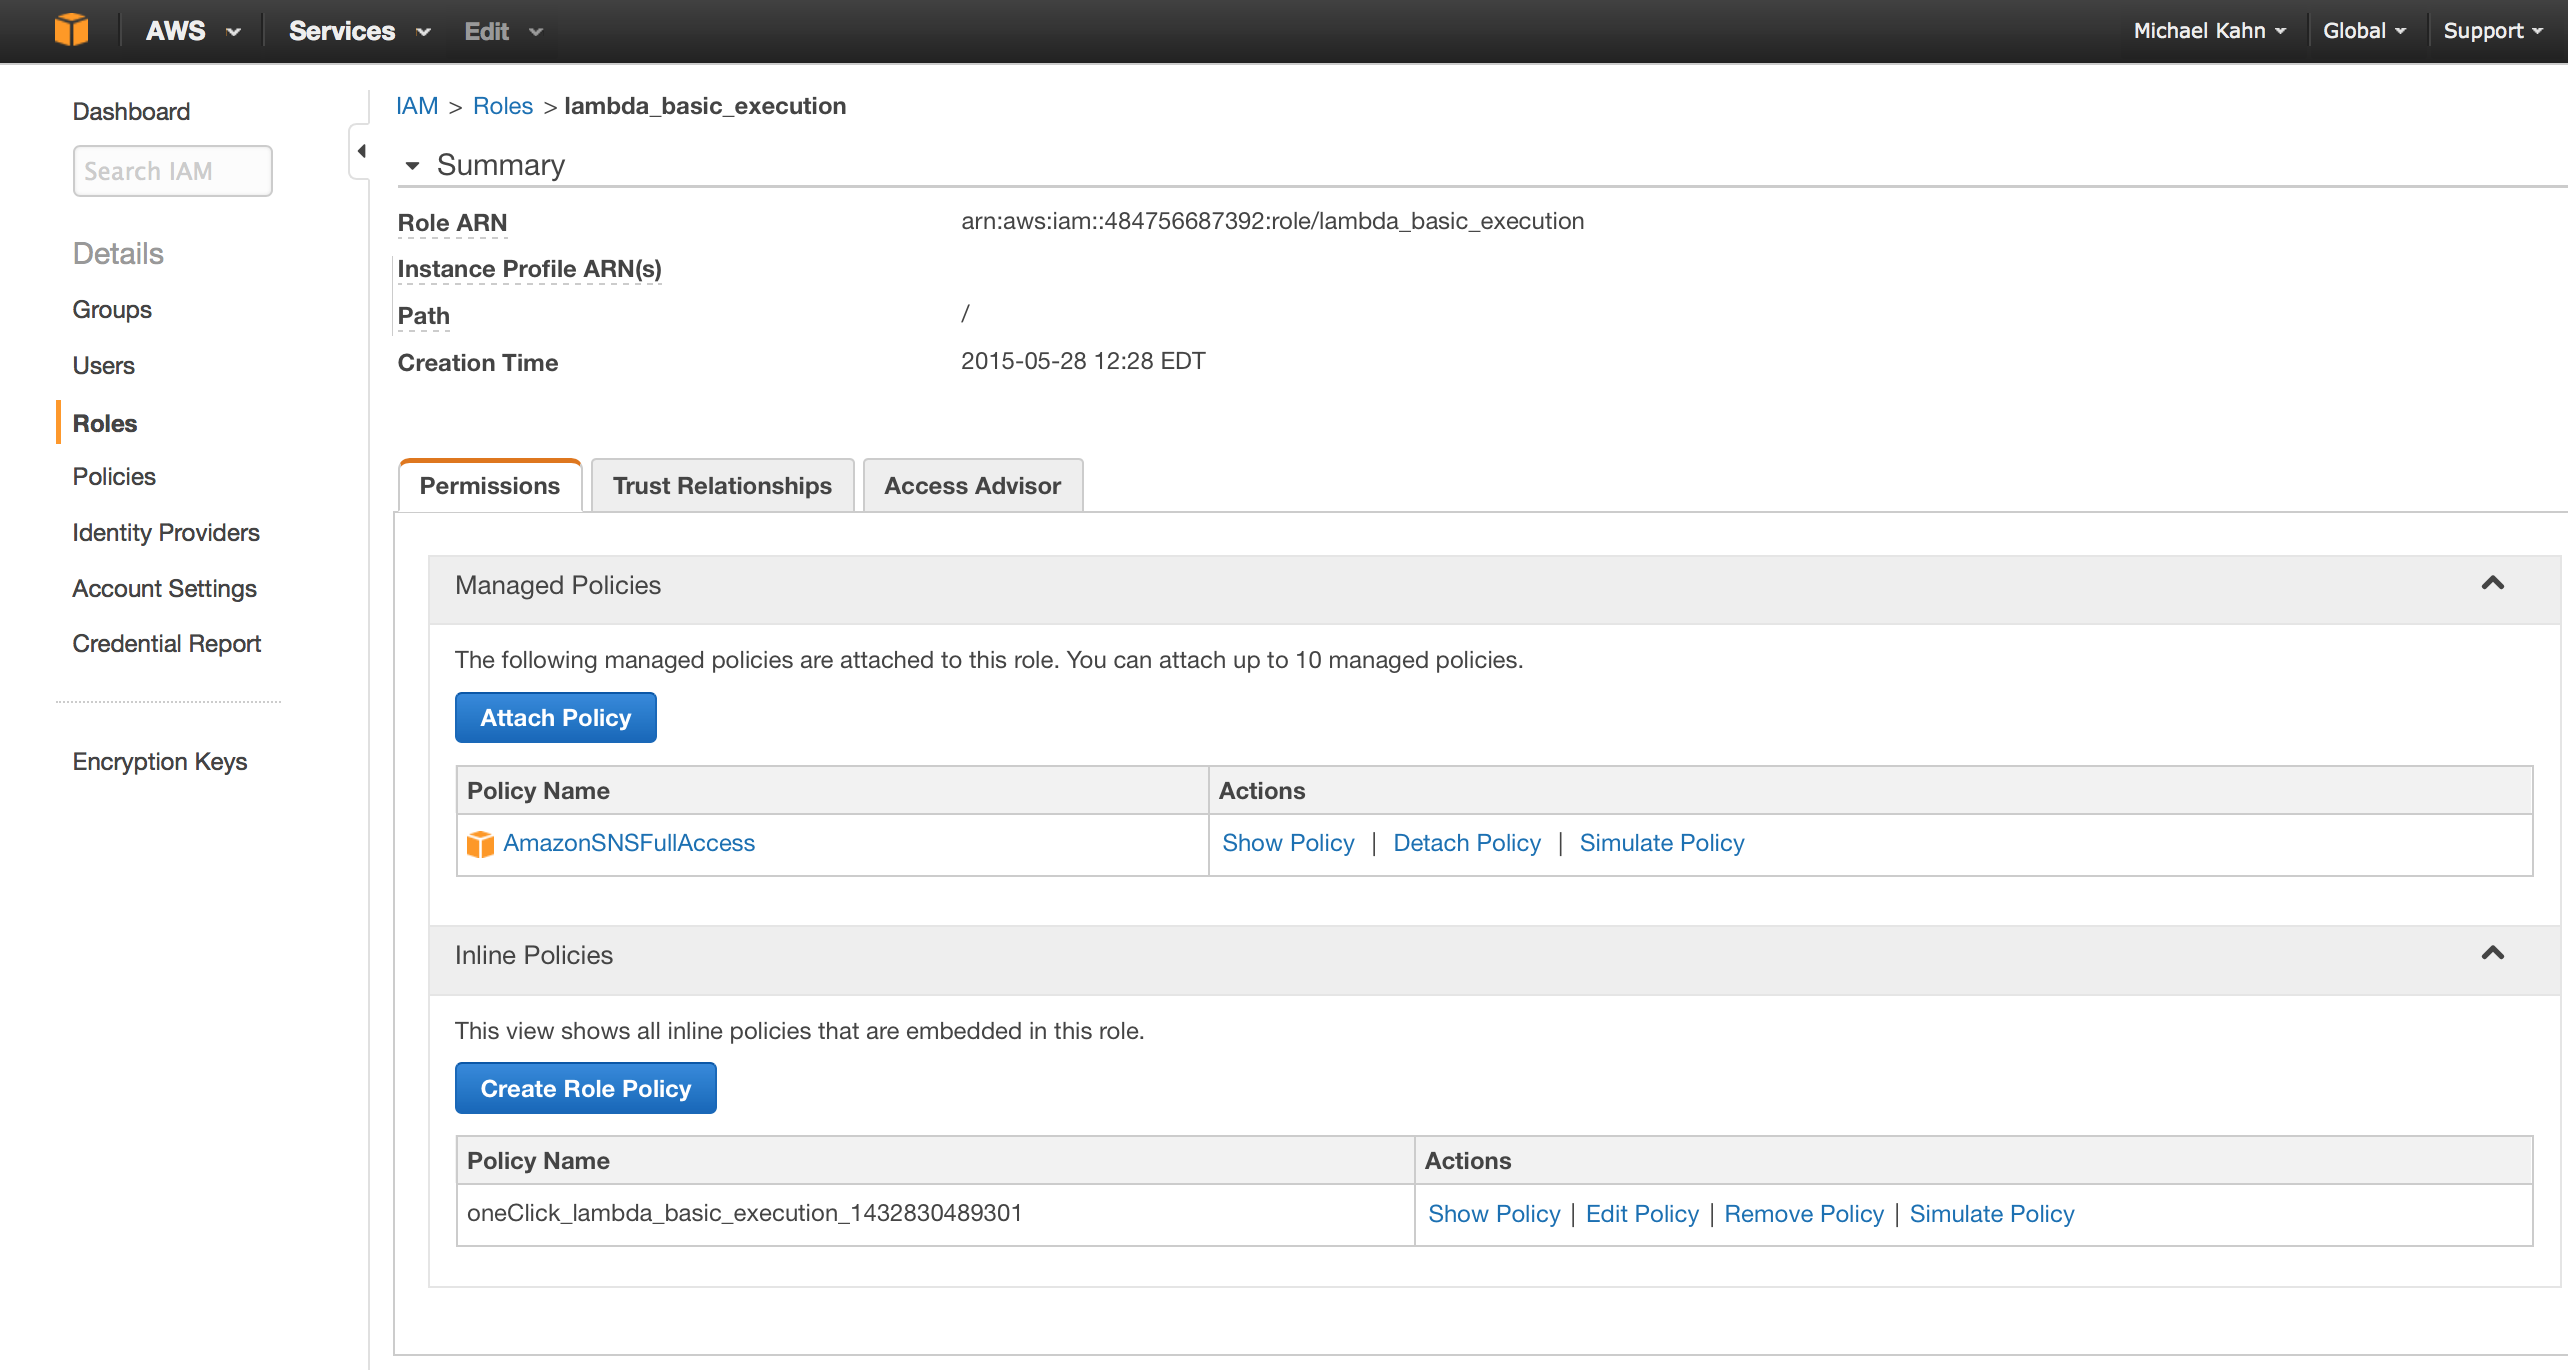
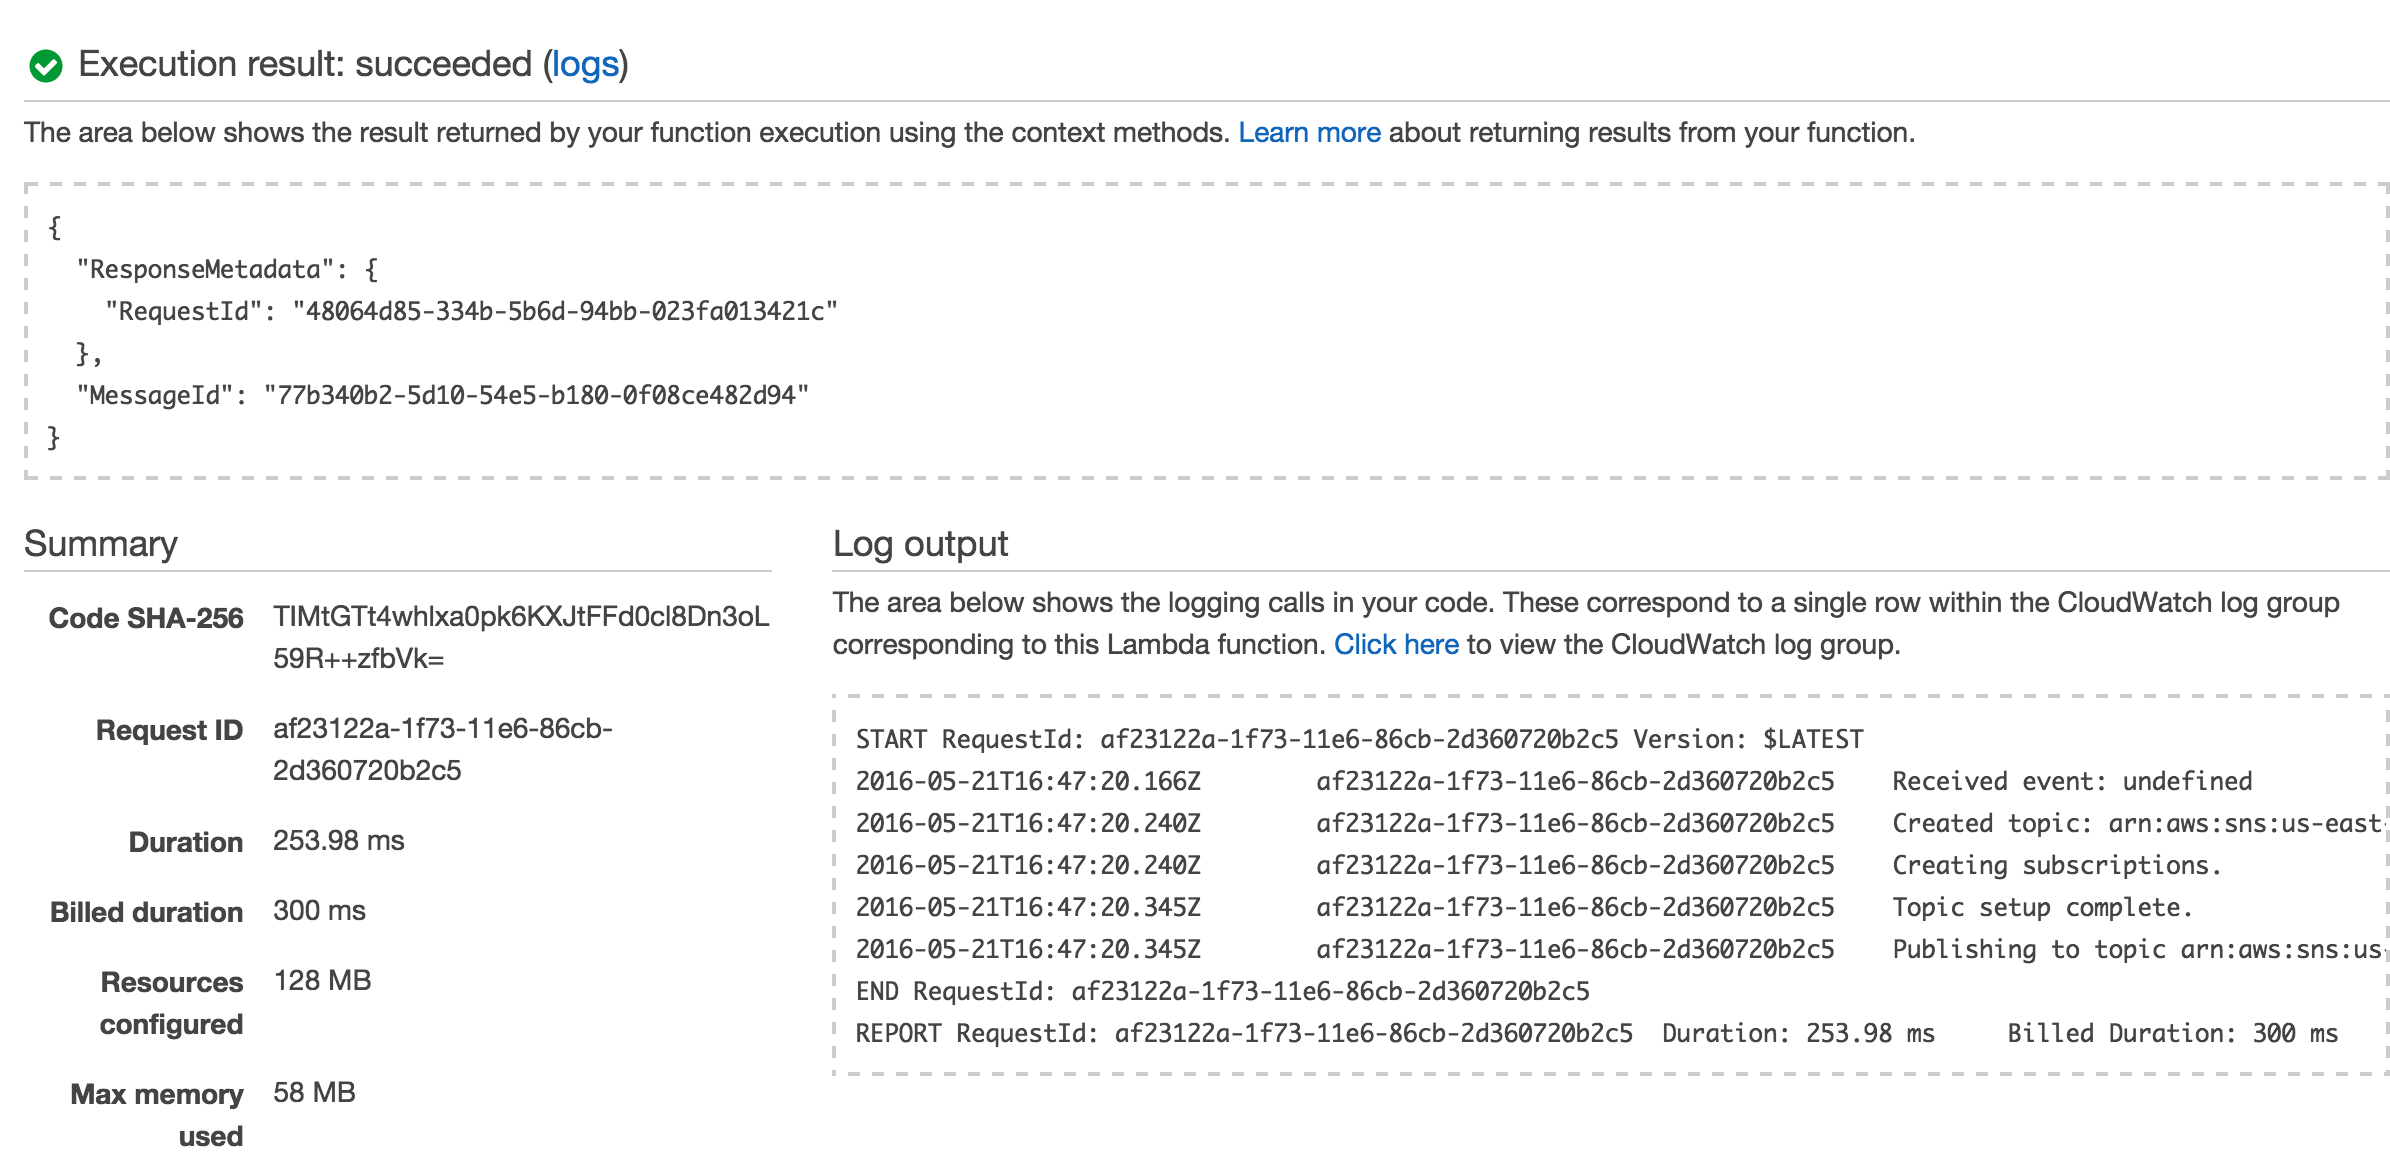
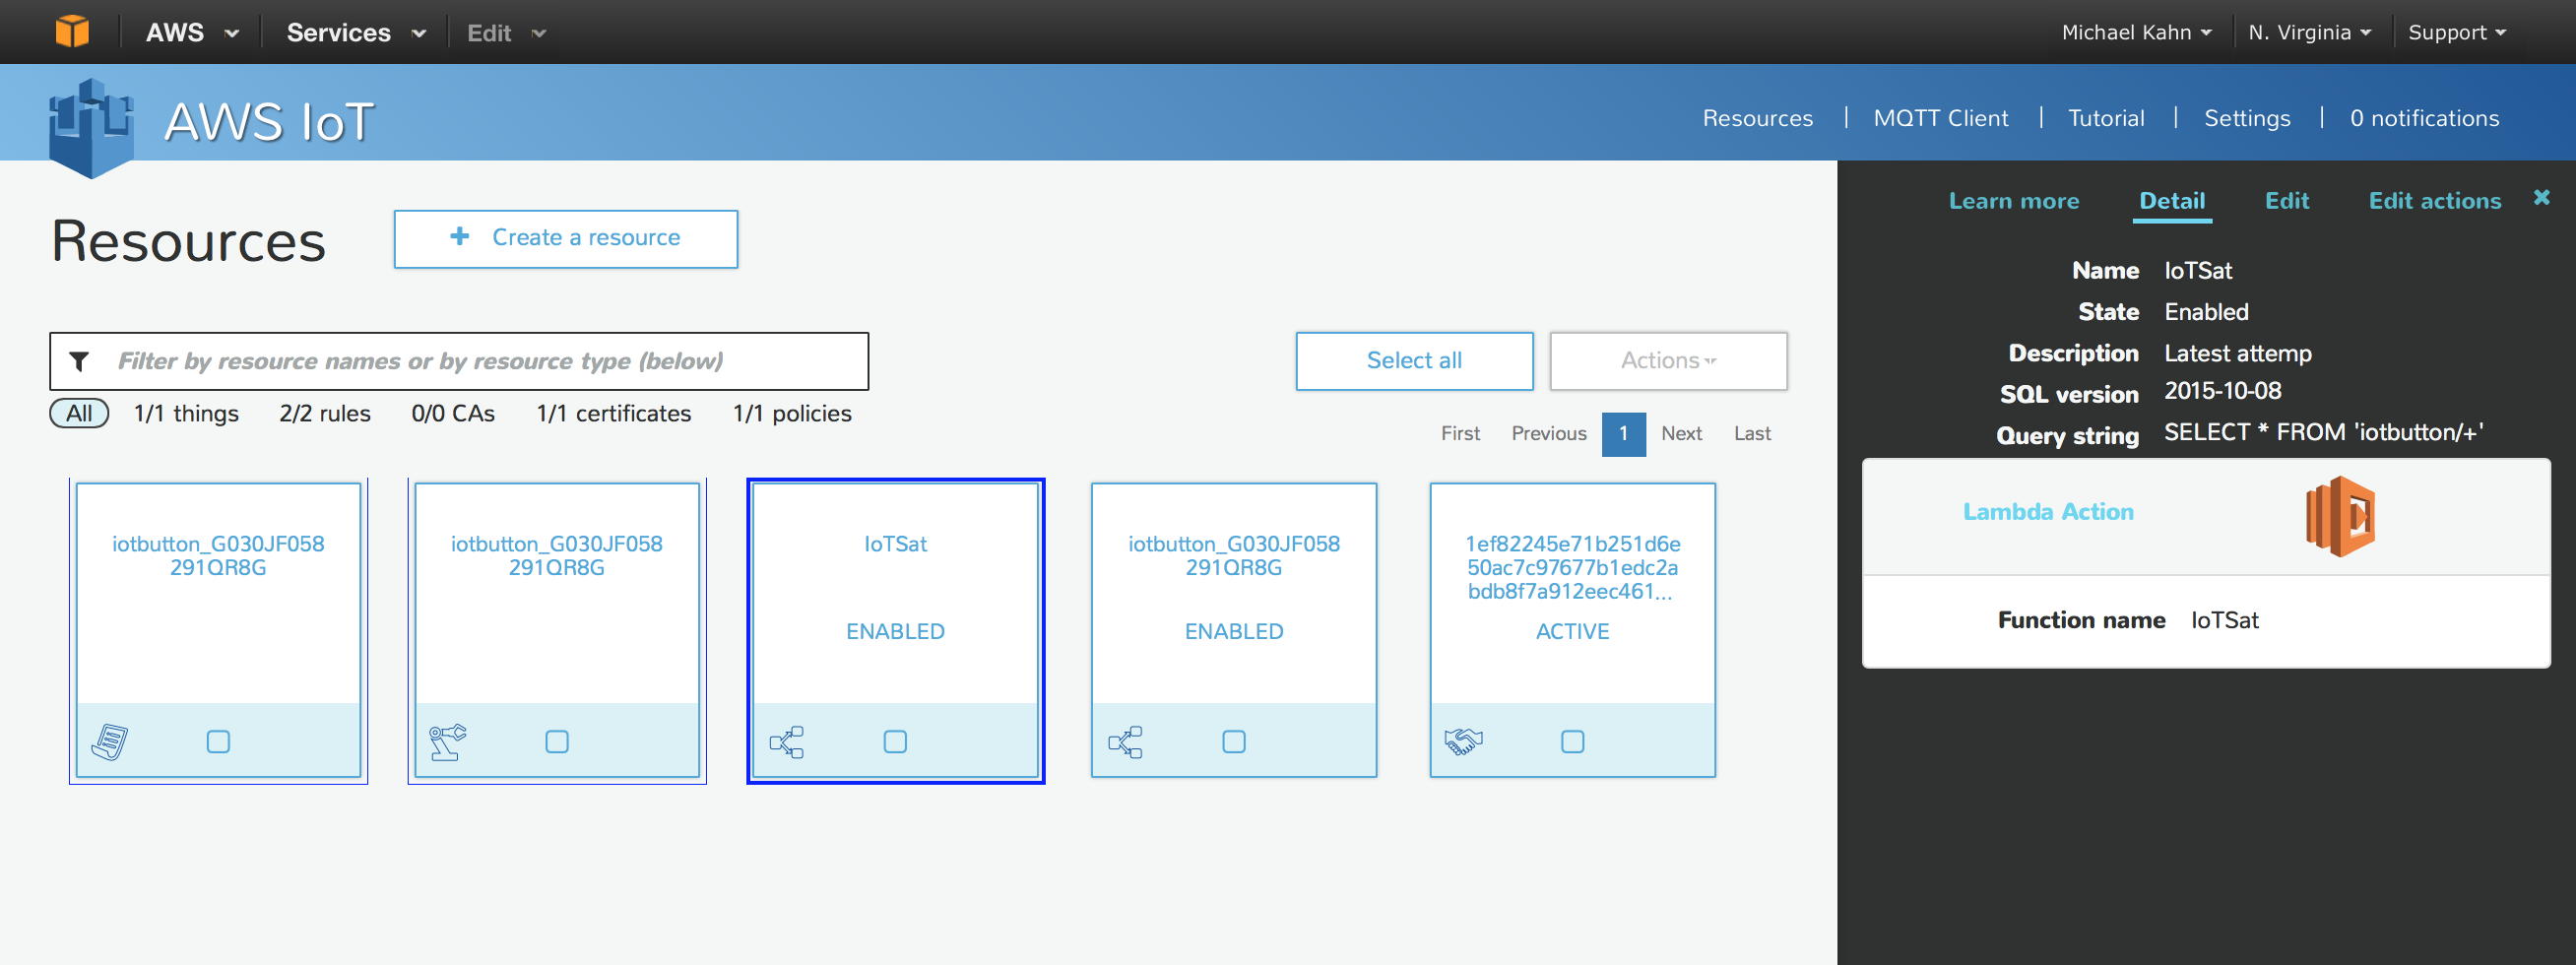
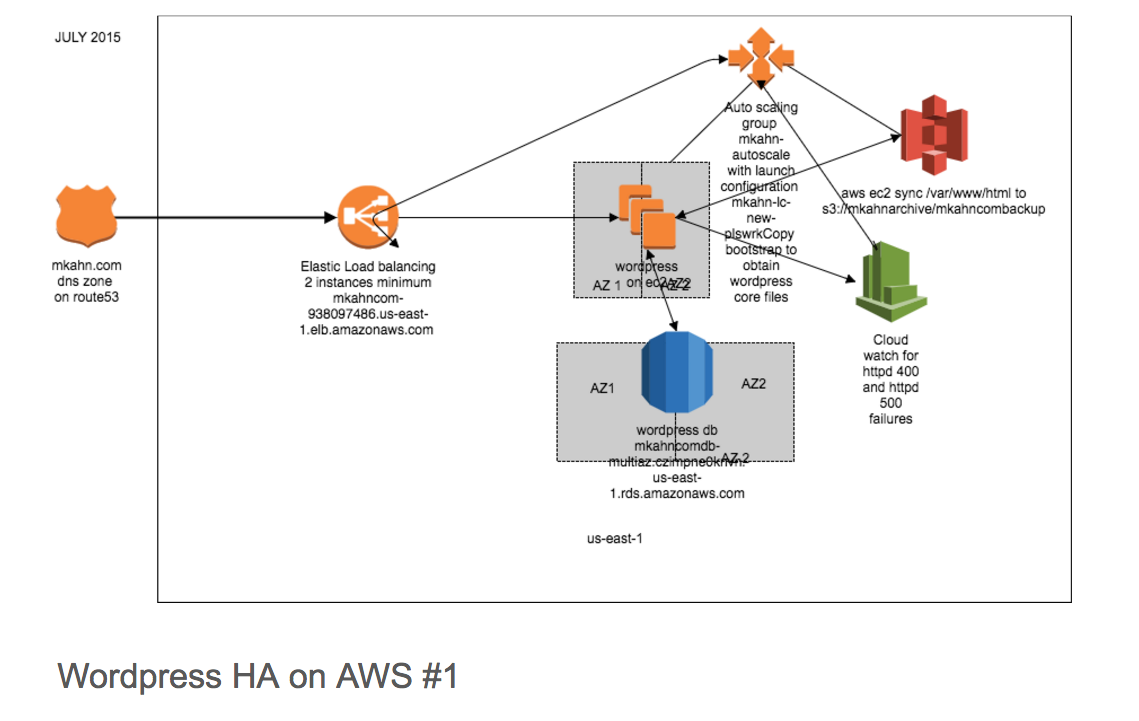
I thought it was a good time to share a few architecture examples and iterations of what ive done with AWS and now with GCP for this site.
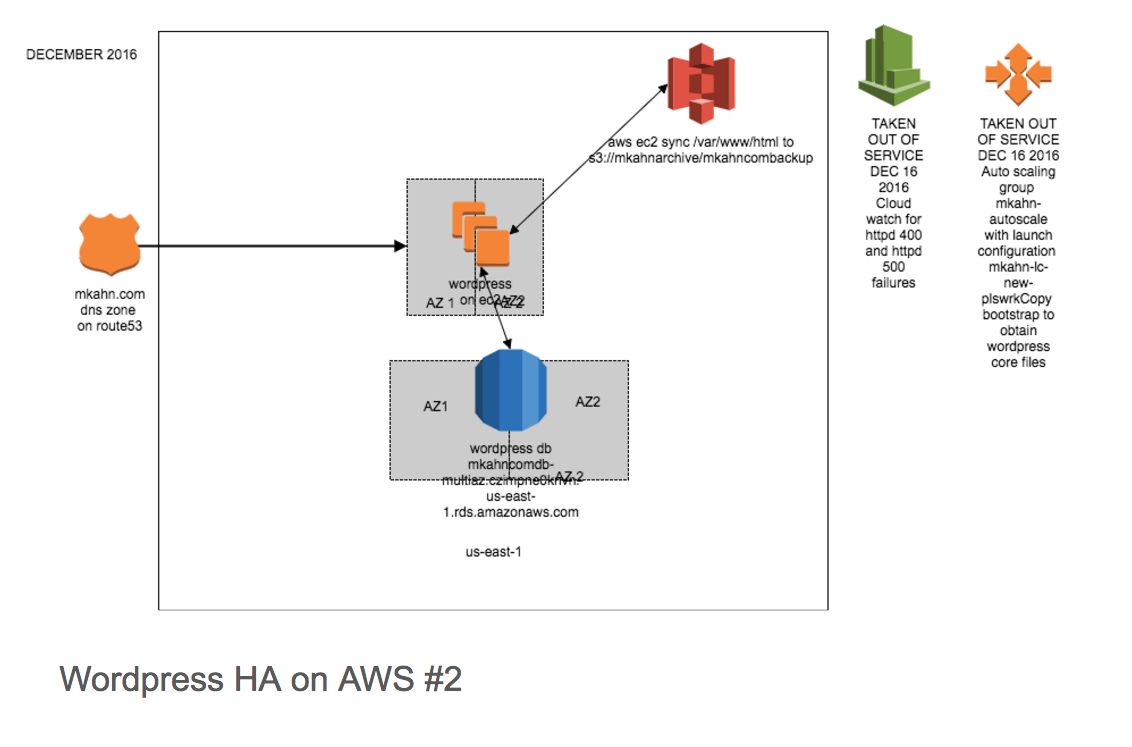
AWS part 1 and 2:
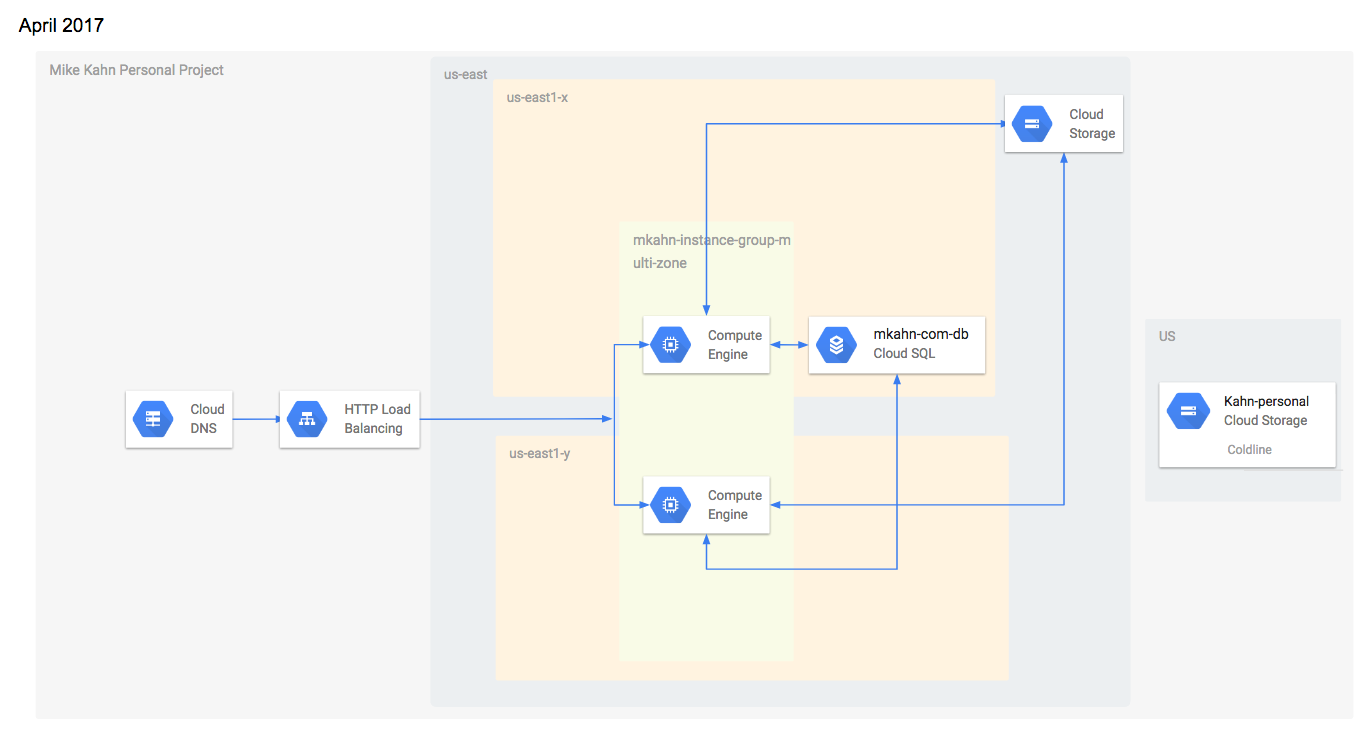
GCP part 1:
Admittedly I had a lot of credits for AWS so the first iteration lasted awhile! There are a couple more of these that I am working on for other sites and services I run that I will share later.
I’m also testing Google App Engine and Google Cloud Storage with a multipart large file upload portal and testing Google Genomics and BigQuery with my 23andme genome data.
Planning on updating here during my testing. Fun stuff 🙂